
why make this recipe
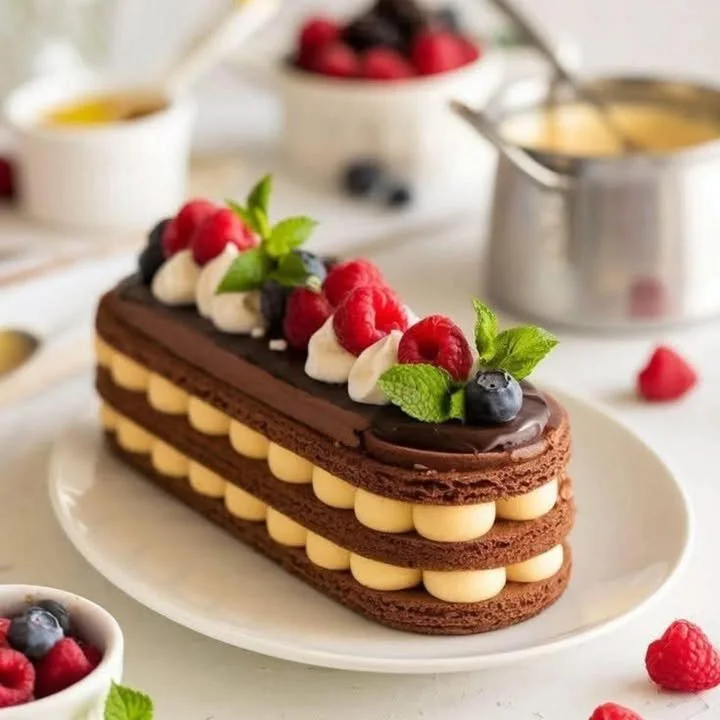
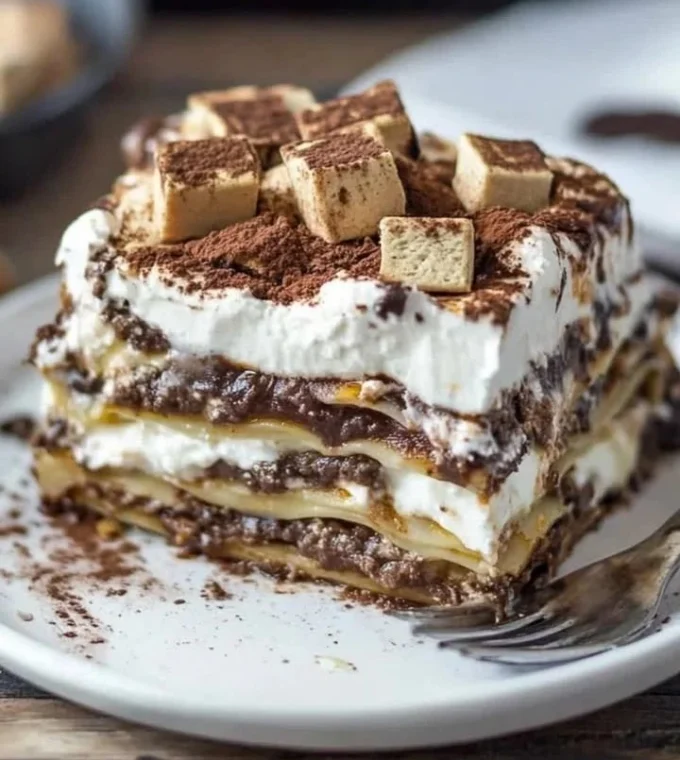
This Chocolate & Vanilla Cream Layer Cake is a delightful treat that combines rich chocolate and light vanilla flavors. It is perfect for birthdays, celebrations, or just a sweet indulgence at home. The beautiful layers make it impressive, while the creamy filling keeps it moist and delicious. Everyone loves a slice of delicious cake, and this one is sure to please!
how to make Chocolate & Vanilla Cream Layer Cake
Ingredients:
- 1 cup (125 g) all-purpose flour
- 1/3 cup (40 g) cocoa powder
- 1 tsp baking powder
- 1/2 tsp baking soda
- Pinch of salt
- 3 large eggs
- 3/4 cup (150 g) sugar
- 1/2 cup (120 ml) vegetable oil
- 1/2 cup (120 ml) buttermilk (or milk with 1 tsp lemon juice)
- 1 tsp vanilla extract
- 2 cups (480 ml) milk
- 1/2 cup (100 g) sugar
- 3 egg yolks
- 1/4 cup (30 g) cornstarch
- 2 tsp vanilla extract
- 1 tbsp butter
- 200 g dark chocolate (good quality, chopped)
- 200 ml heavy cream
- 1 tbsp butter
- Fresh raspberries, blueberries, blackberries
- Whipped cream (optional)
- Fresh mint leaves
Directions:
-
Preheat your oven to 350°F (175°C). Line a rectangular baking tray with parchment paper. In a bowl, sift together the flour, cocoa powder, baking powder, baking soda, and salt. In another bowl, whisk the eggs and sugar until light and fluffy. Add the oil, buttermilk, and vanilla, mixing until smooth. Gradually fold in the dry ingredients. Spread the batter evenly into the tray and bake for 20–25 minutes. Let it cool, then cut it into 3 even rectangles.
-
Heat the milk in a saucepan until it’s just simmering. In a bowl, whisk together the egg yolks, sugar, and cornstarch. Slowly pour the hot milk into the yolk mixture while whisking. Return this mix to the saucepan and cook on low heat until thickened. Remove from heat, stir in the vanilla and butter. Cover with plastic wrap touching the surface and let cool. Pipe into a pastry bag for neat layering.
-
Heat the cream until hot but not boiling. Pour it over the chopped chocolate and let it sit for 2 minutes. Stir until smooth and glossy, then mix in the butter.
-
Place one sponge layer on a serving plate. Pipe vanilla cream dots evenly across the top. Add the second sponge layer and repeat the cream layer. Top with the third sponge, then spread the chocolate ganache smoothly over it. Pipe small swirls of whipped cream and decorate with berries and mint.
-
Refrigerate the cake for at least 1 hour before slicing. This allows for clean layers and a perfect presentation.
how to serve Chocolate & Vanilla Cream Layer Cake
Slice the cake into beautiful pieces to serve. You can add extra berries on top and a dollop of whipped cream to each slice for added decoration and flavor. This cake is perfect for any occasion, and it tastes amazing with a cup of coffee or tea.
how to store Chocolate & Vanilla Cream Layer Cake
Store any leftover cake in the refrigerator. Make sure to cover it well with plastic wrap or keep it in an airtight container. It can stay fresh for up to 3 days. Before serving leftovers, you can let them sit at room temperature for a bit to soften.
tips to make Chocolate & Vanilla Cream Layer Cake
- Make sure your ingredients are at room temperature for better mixing.
- Use a good quality chocolate for the ganache for the best flavor.
- When cutting the cake, use a sharp knife dipped in hot water for neat slices.
- Feel free to switch up the berries according to your favorites or what is in season.
variation (if any)
You can change the flavor of the cream by adding different extracts, like almond or coconut. If you want a fruity twist, try adding a layer of fruit puree between the cream and cake layers. You could also make it a two-layer cake if you’re short on time.
FAQs
Q: Can I use regular milk instead of buttermilk?
A: Yes, you can use regular milk. Just add 1 teaspoon of lemon juice to the milk and let it sit for a few minutes to mimic buttermilk.
Q: How can I make this cake gluten-free?
A: You can substitute the all-purpose flour with a gluten-free flour blend.
Q: Can I make this cake ahead of time?
A: Yes, you can bake the sponge layers ahead of time and assemble the cake a day before serving. Just store the layers in the refrigerator.


Leave a comment